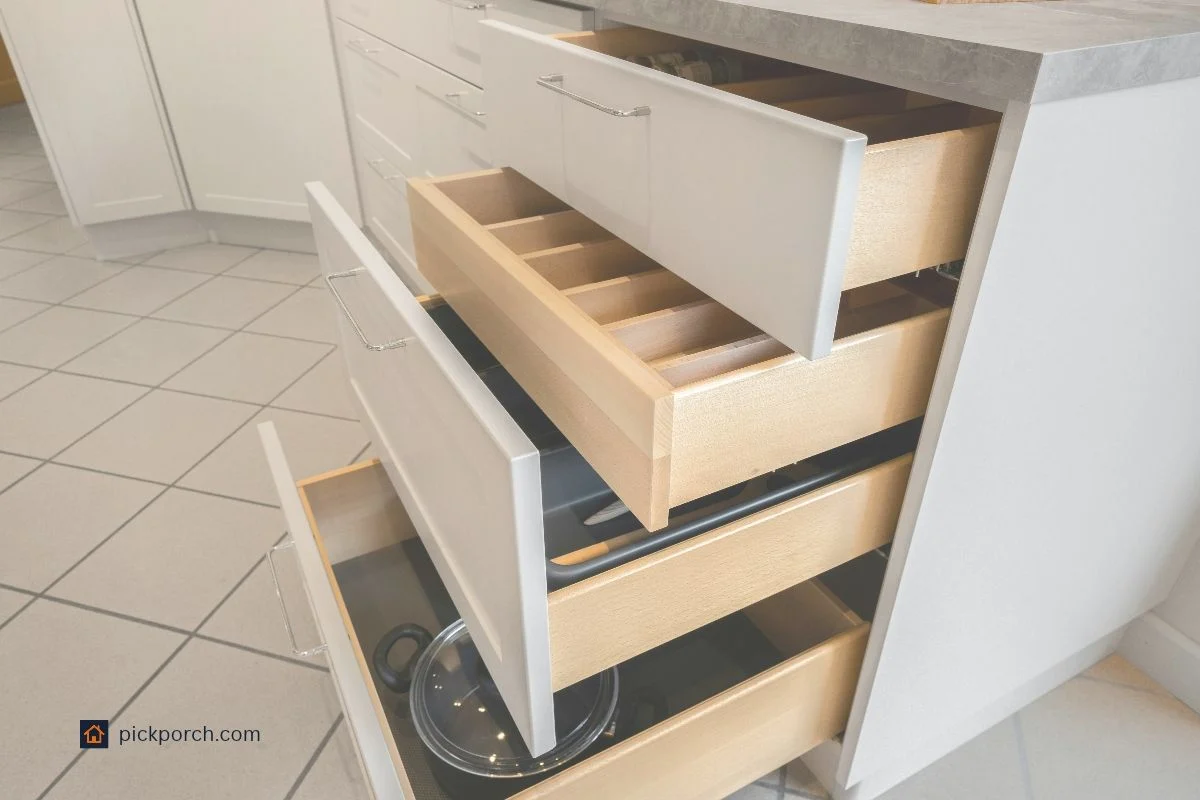
Quick answer
Start with the inside width, depth, and height of the drawer, not the outer front. Then note the shape, corners, and any obstructions, and use the smallest usable measurement for each dimension.
This guide explains how to measure the inside space that an organizer must fit. If you are learning how to measure drawers for organizers, focus on the tightest points, not the widest ones.
Step 1: Gather measuring tools and notes
Set out a tape measure and something to write on before you start. Measure the drawer opening width, then the interior depth and interior height, and record each result right away. A simple note method keeps each value tied to the drawer it came from.
- Tape measure – reach the inside edges without guessing
- Notebook – keep each drawer measurement in one place
- Pen or pencil – mark values as you measure
- Drawer label – name the drawer before you start
- Measurement notes – write width, depth, and height separately
Tip: write each number next to its label before moving to the next measurement.
Step 2: Measure the drawer opening width
Measure the opening where the organizer must pass, not the outer face of the drawer. The inside space is often smaller than the front panel suggests. Take the narrowest front span first.
- Front opening width – measure the narrowest front span
- Rear width – compare the back span if it changes
- Side wall thickness – note thick edges that reduce space
- Inside lip – check for a rolled or raised edge
- Narrowest width – record the limiting opening only
Tip: if the front looks wider than the back, keep the smaller width for the fit check.
Step 3: Measure the drawer interior depth
Measure from the inside front of the drawer to the back wall. This tells you how far an organizer can extend inside the drawer. Watch for parts that stop the drawer before the back wall.
- Front-to-back depth – measure from inside front to back
- Rear stop – note where the drawer stops moving
- Slide overlap – watch for hardware inside the box
- Clear depth – record the smallest usable depth
- Back wall – check where the organizer would end
Tip: measure along the same line the organizer base will use, not along a slanted edge.
Step 4: Measure the drawer interior height
Measure the clear space from the drawer bottom to the top opening. This tells you how tall an organizer can be while still fitting under the front edge. Check for raised panels or a thick front lip.
- Bottom to top opening – measure the clear vertical space
- Drawer base – note any raised bottom panel
- Front clearance – check the space under the lip
- Lowest height – record the smallest clear height
- Top opening – confirm where the organizer must pass
Tip: if the front opening is tighter than the middle, measure at the tightest point.
Step 5: Note drawer shape and corner style
The inside shape can change what fits, even when the measurements look close. Square corners, rounded corners, and tapered sides all affect the footprint. Look at the front opening and the side walls together.
- Inside corners – note square or rounded corners
- Front face shape – check for a sloped front
- Angled sides – mark any taper in the box
- Curved cutout – note any shaped opening
- Corner style – record the shape that limits fit
Tip: sketch the drawer outline if the shape is unusual, then mark the tightest corners.
Step 6: Find and measure obstructions inside the drawer
Look for anything inside the drawer that takes up space. Built-in dividers, catches, and raised parts can block a tray even when the open area looks large. Measure the parts that protrude into the drawer.
- Divider rails – measure built-in split lines
- Drawer hardware – note latches or catches
- Screw heads – check for raised metal points
- Handle backs – record anything that blocks a tray
- Protruding parts – note what sticks into the space
Tip: run your hand across the inside surface to find small raised parts your eyes may miss.
Step 7: Record the smallest usable measurements
Bring all the readings together and choose the limiting value for each direction. That means the smallest width, the smallest depth, and the smallest height. Label each number clearly in your notes.
- Smallest width – use the limiting width only
- Smallest depth – use the limiting depth only
- Smallest height – use the limiting height only
- Measurement notes – keep each value with a label
- Limit value – keep the tightest number for each side
Tip: cross out any larger numbers once you know the limiting one.
Step 8: Compare measurements with organizer footprint
Match the organizer footprint to the usable space, not to the outer drawer size. Length should fit the usable depth, and width should fit the usable width. Check the corners and the top edge too.
- Organizer length – match it to usable depth
- Organizer width – match it to usable width
- Organizer corners – check that the shape fits
- Organizer height – leave room for the top
- Footprint – compare the base to the drawer
Tip: compare your notes against the organizer base outline before you look at height.
Step 9: Plan clearance for moving parts and removal
Leave room for the drawer to move after the organizer is inside. Slides, grips, and removal space all need a little extra room.
A fit that looks exact on paper can still snag if the drawer must pass hardware or your fingers need space to lift it out.
- Drawer slide travel – leave room for movement
- Finger space – keep a small grip area
- Lift-out space – allow room to remove it
- Front access – make sure the drawer opens fully
- Moving parts – check for space at the front
Tip: if the drawer rubs during movement, reduce the organizer size before you force the fit.
Step 10: Choose the best organizer layout
Use the measurements to choose a layout that matches the drawer shape and the items you plan to store. A simple drawer may only need one open insert, while a mixed drawer may need sections. Height also matters.
- Single tray – use one open insert when space is simple
- Sectioned insert – use dividers for mixed items
- Stacked tray – use layers only if height allows
- Custom fit – choose a shape that matches the drawer
- Low profile – leave room for the top edge
Tip: if the drawer has an odd shape, start with the shape first and the divider layout second.
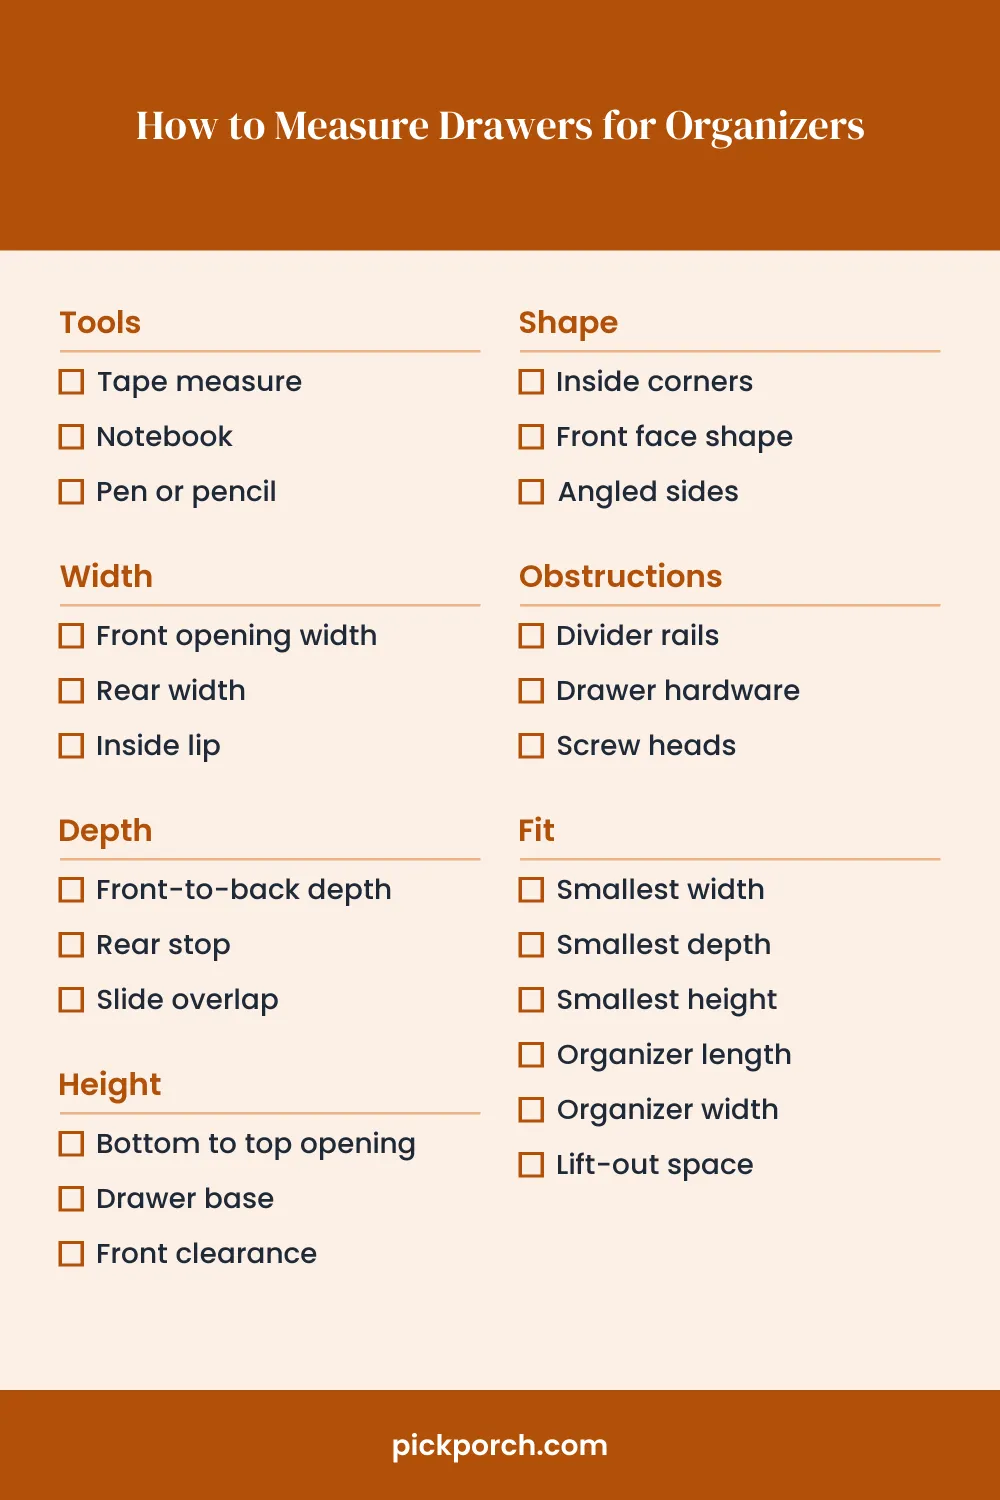
Checklist
Tools
- ☐ Tape measure
- ☐ Notebook
- ☐ Pen or pencil
Width
- ☐ Front opening width
- ☐ Rear width
- ☐ Inside lip
Depth
- ☐ Front-to-back depth
- ☐ Rear stop
- ☐ Slide overlap
Height
- ☐ Bottom to top opening
- ☐ Drawer base
- ☐ Front clearance
Shape
- ☐ Inside corners
- ☐ Front face shape
- ☐ Angled sides
Obstructions
- ☐ Divider rails
- ☐ Drawer hardware
- ☐ Screw heads
Fit
- ☐ Smallest width
- ☐ Smallest depth
- ☐ Smallest height
- ☐ Organizer length
- ☐ Organizer width
- ☐ Lift-out space
Common mistakes
- Measuring the outer drawer face gives the wrong fit because the inside space is smaller.
- Using the largest measurement hides tight spots that block the organizer.
- Ignoring corner shape can leave gaps or force a tray to tilt.
- Forgetting hardware and slides can make the organizer snag when the drawer moves.
Frequently asked questions
What measurements do I need for drawer organizers?
Measure the inside width, depth, and height of the drawer. Then note the shape, corners, and anything inside that takes up space. Use the smallest usable value for each dimension when you compare sizes.
Should I measure the inside or outside of the drawer?
Measure the inside. The outside face does not show the space the organizer must fit into. The opening, walls, and hardware can make the usable space smaller than the front panel.
Why does drawer shape matter when choosing an organizer?
Shape changes the footprint that fits. Rounded corners, tapered sides, and sloped fronts can leave gaps or stop a tray from sitting flat. The outline matters as much as the numbers.
What should I do if the drawer has obstructions?
Note each obstruction and measure how far it projects into the drawer. Use the tightest clear width, depth, or height around it. If a part blocks the whole area, plan around that limit.
Which measurement should I use if the drawer is uneven?
Use the smallest usable measurement for each direction. If one side is wider or deeper, still keep the limiting value. That gives the best fit for the full drawer, not just the widest point.
Last checked: October 29, 2026