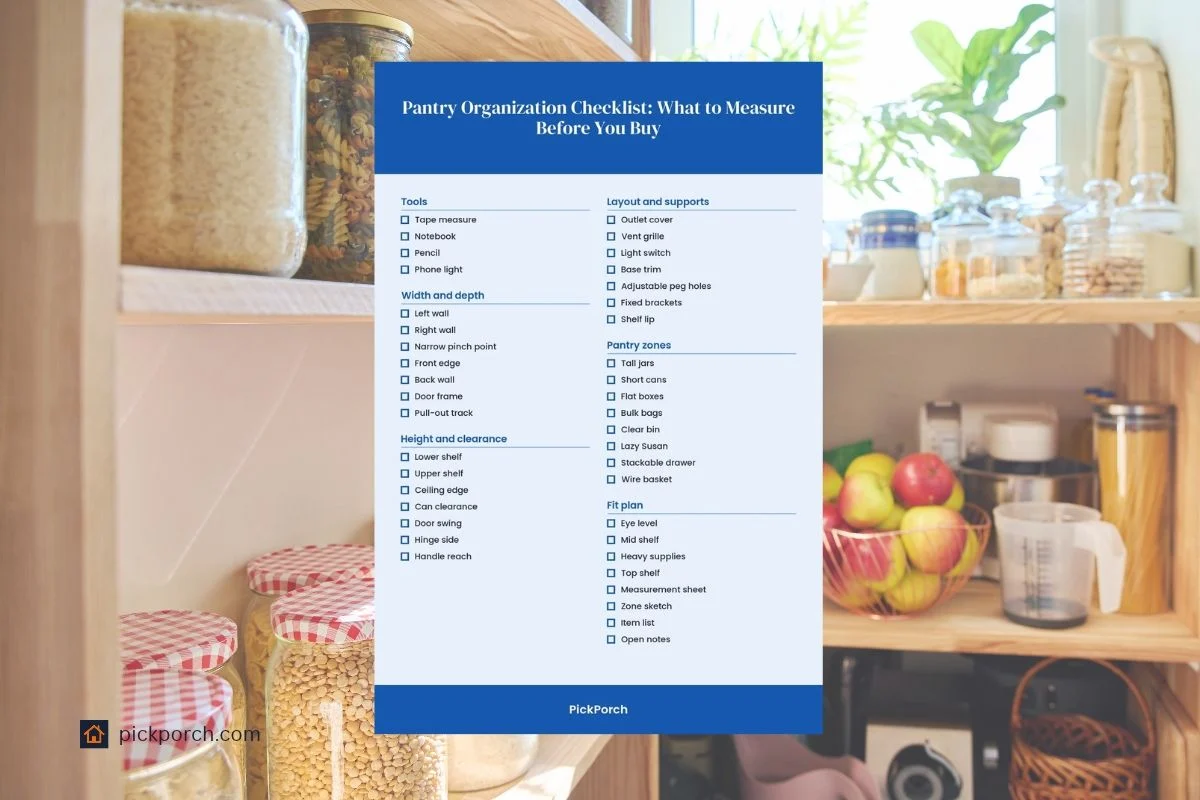
Quick answer
A pantry organization checklist starts with clearing the shelves, then measuring the space, and then matching food groups to the right zones. This makes the layout fit your pantry instead of forcing everything into the same spot.
Use this pantry organization checklist to plan the space before you put items back. Start with sorting, then measure the shelves, then decide where each group belongs. That keeps the layout practical for daily use.
Step 1: Clear and sort the pantry
Take everything out and give yourself a full view of the shelf space. Then sort what you find by type and use. Check dates on food and set aside anything that should be used first.
- Take everything out – clears each shelf for a full view
- Check food dates – separates items that need attention first
- Group like items – keeps similar foods together during setup
- Set aside extras – separates backup food from daily use
- Wipe empty shelves – gives a clean start for layout planning
- Use a tray or bin – holds loose items while you sort
Tip: Work on one shelf at a time if the pantry feels crowded.
Step 2: Measure shelf width and depth
Measure the shelf from side to side and from front to back. Use the space that matters most for fit, not the widest open area. Write down the narrowest span on each shelf.
- Measure shelf width – shows how much side space you have
- Measure shelf depth – shows how far items can sit back
- Record the narrowest span – use the limiting fit measurement
- Check shelf edges – look for lips that change usable space
- Note deep corners – mark spots where short containers may work
- Keep the tape flat – avoids a false reading on the shelf
Tip: Measure the tightest part first, since one narrow section controls the fit.
Step 3: Measure shelf height and door clearance
Measure the open height between shelves and the space through the pantry door. Those two readings decide what can move in and stand upright. Look for both tall zones and short zones before you decide on storage.
- Measure shelf height – tells how tall items can stand
- Measure door clearance – shows what can pass through easily
- Check upper gaps – finds tall zones for bulky items
- Check lower gaps – finds short zones for bins and jars
- Record the smallest opening – use the limiting height for choices
- Measure with shelves empty – avoids blocked readings from stored items
Tip: Measure again after clearing the shelf, since stored items can hide the real opening.
Step 4: Note fixed obstructions and awkward spaces
Look for anything that interrupts a clean shelf run. Small fixed details can change what fits even when the shelf looks open. Mark the odd spaces before you choose storage.
- Find support posts – they break up usable shelf runs
- Mark wall outlets – they can affect side placement
- Note trim and molding – they can stop bins from sitting flat
- Watch for vents – they leave less room than open shelf space
- Find corner dead space – it may need a smaller container shape
- Measure around obstructions – checks the true usable footprint
Tip: Sketch each obstruction on paper if the shelf has several tight spots.
Step 5: Group food by use and storage needs
Sort food by how often you use it and how you store it. This keeps daily items separate from backup food and special items. Make each group clear before you assign a place.
- Daily staples – foods you reach for most often
- Breakfast foods – items used together in morning meals
- Cooking basics – ingredients for regular meal prep
- Snacks and treats – foods that need quick access
- Backstock items – duplicates kept for later use
- Special diet foods – items that need their own spot
Tip: If one item fits two groups, place it with the group you use most.
Step 6: Assign pantry zones
Turn the shelf plan into zones based on use. Put the most useful groups where they are easiest to reach. Match each zone to one clear job.
- Eye-level zone – for the foods you use most
- Lower zone – for heavier foods and backstock
- Upper zone – for lighter or less-used items
- Snack zone – for quick grab food on busy days
- Prep zone – for cooking basics near each other
- Reserve zone – for extras kept away from daily use
Tip: Keep the most reached-for zone at the most visible shelf space.
Step 7: Choose container types for each zone
Pick container shapes after you know the shelf space and the food groups. The right shape uses the shelf well and gives each zone a clear container style. Choose simple containers that fit the job, not just the look.
- Clear bins – let you see contents at a glance
- Tall canisters – suit dry goods that stand upright
- Shallow baskets – fit flat items and small packages
- Lidded boxes – contain loose refills and backup packs
- Uniform jars – work well for a neat row of staples
- Open trays – keep quick-grab items from spreading
Tip: Measure first, then choose containers, so empty gaps do not waste shelf space.
Step 8: Set shelf placement for heavy and light items
Place each group where it makes the most sense on the shelf. Heavy items belong low, and the items you use often should stay easy to reach. Keep similar heights together when you arrange the shelves.
- Place heavy items low – keeps weight near the bottom
- Put daily items forward – makes them easier to reach
- Store light items high – uses upper space well
- Keep tall items together – prevents wasted vertical gaps
- Line up categories – gives each food group one home
- Leave a little slack – makes room for restocking
Tip: Leave a small open space at the front of each zone for fast refills.
Step 9: Label shelves and containers
Add labels after the layout is set. Labels show where each item belongs and make it easier to return things to the same spot. Use clear words that match the zones and containers you chose.
- Shelf labels – show where each food group belongs
- Container labels – name what goes inside each bin
- Date labels – mark backup food or opened refills
- Family labels – help everyone put items back in place
- Large print labels – make names easy to read fast
- Removable labels – let you change the layout later
Tip: Use the same wording on shelves and containers when a zone has several containers.
Step 10: Map the pantry layout
Draw a simple map of the pantry once the layout is set. Add the shelf order, the main zones, and what belongs in each place. Keep a short list with the map for refills and cleanup.
- Simple sketch – shows shelf order at a glance
- Item list – records what belongs in each zone
- Zone names – keep the layout easy to follow
- Storage notes – track bins, jars, and baskets used
- Restock list – shows what needs attention later
- Cleanup notes – mark spots that need more space
Tip: Keep the map where you can find it fast during restocking.
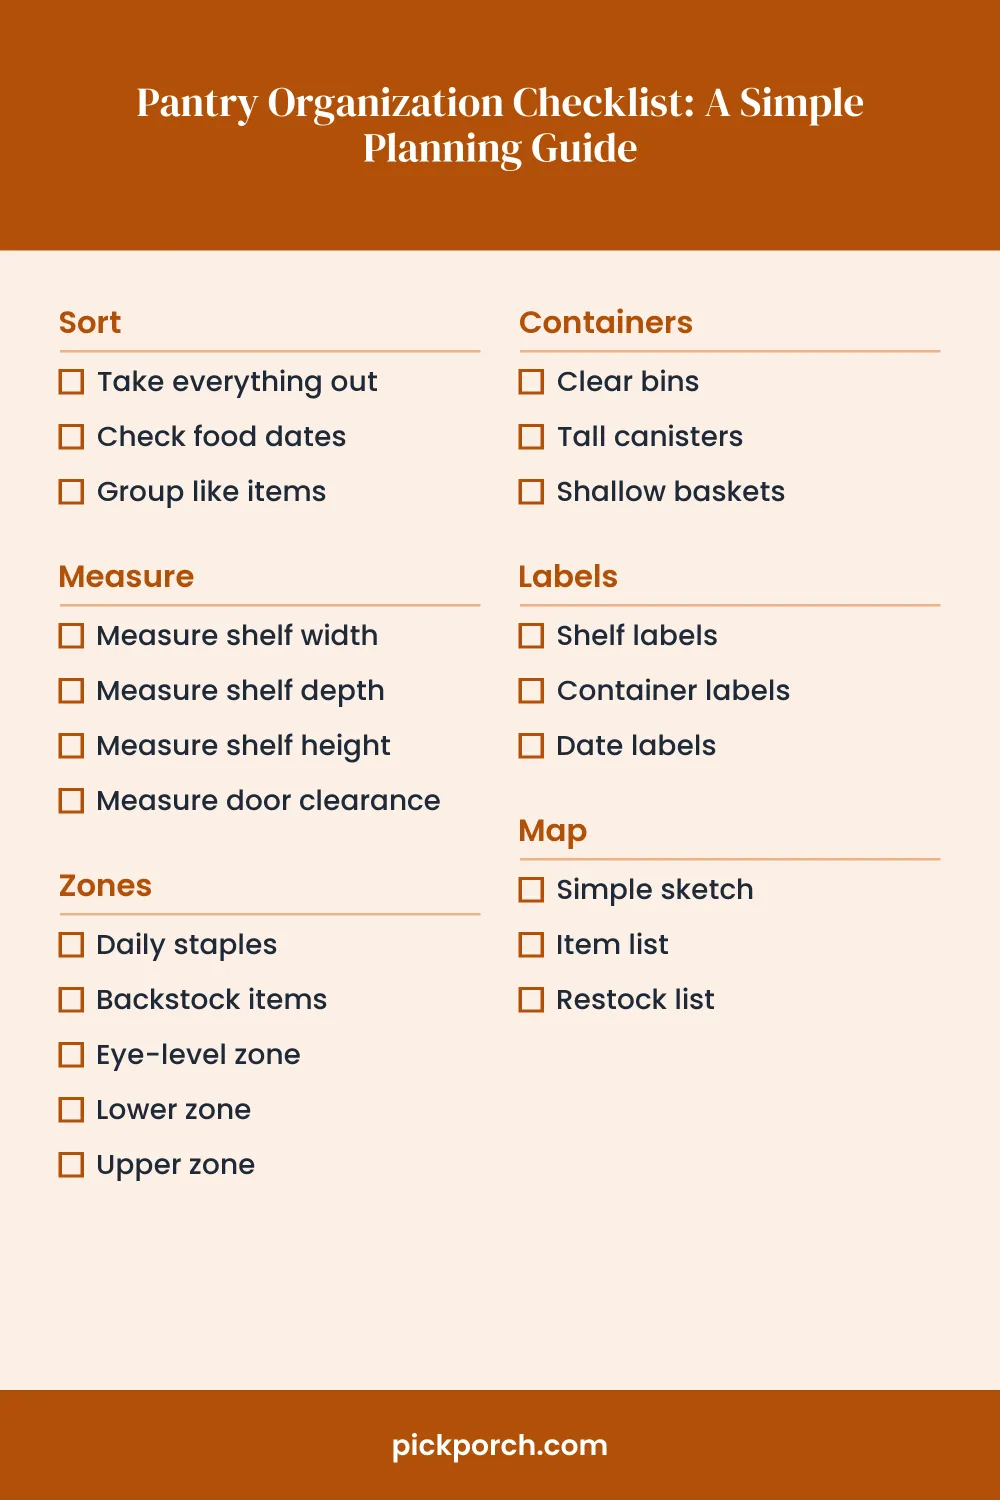
Checklist
Sort
- ☐ Take everything out
- ☐ Check food dates
- ☐ Group like items
Measure
- ☐ Measure shelf width
- ☐ Measure shelf depth
- ☐ Measure shelf height
- ☐ Measure door clearance
Zones
- ☐ Daily staples
- ☐ Backstock items
- ☐ Eye-level zone
- ☐ Lower zone
- ☐ Upper zone
Containers
- ☐ Clear bins
- ☐ Tall canisters
- ☐ Shallow baskets
Labels
- ☐ Shelf labels
- ☐ Container labels
- ☐ Date labels
Map
- ☐ Simple sketch
- ☐ Item list
- ☐ Restock list
Common mistakes
- Measuring the widest spot gives a false fit because one narrow section controls the shelf.
- Skipping obstructions leaves dead space because bins can tilt or stop short.
- Mixing every food type together makes daily items harder to reach and refill.
- Choosing containers before measuring creates awkward gaps because the shelf space is already fixed.
Frequently asked questions
What should I do first in a pantry organization checklist?
Start by clearing the pantry and sorting what you have. That gives you a full view of the space and the food you need to place. After that, measure the shelves before you choose zones or containers.
How do I decide which pantry items stay together?
Group foods by how you use them and how you store them. Daily staples, breakfast foods, cooking basics, snacks, and backup food each have different needs. Keep the groups separate so each one gets a clear place.
Which measurements matter most for pantry storage?
Measure shelf width, shelf depth, shelf height, and door clearance. Use the limiting measurement in each case, not the largest open spot. Also note any narrow sections, since those control what actually fits.
How do I make pantry zones easy to follow?
Give each zone one clear job and keep that job the same every time you restock. Put the most used foods where they are easiest to reach. Then label the shelves and containers with the same zone names.
What should I write on a pantry layout note?
Write a simple sketch, the item list for each zone, and the storage notes for bins or jars. Add a restock list and any cleanup spots that need attention. Keep the note short enough to use during daily put-back tasks.
Last checked: October 29, 2026